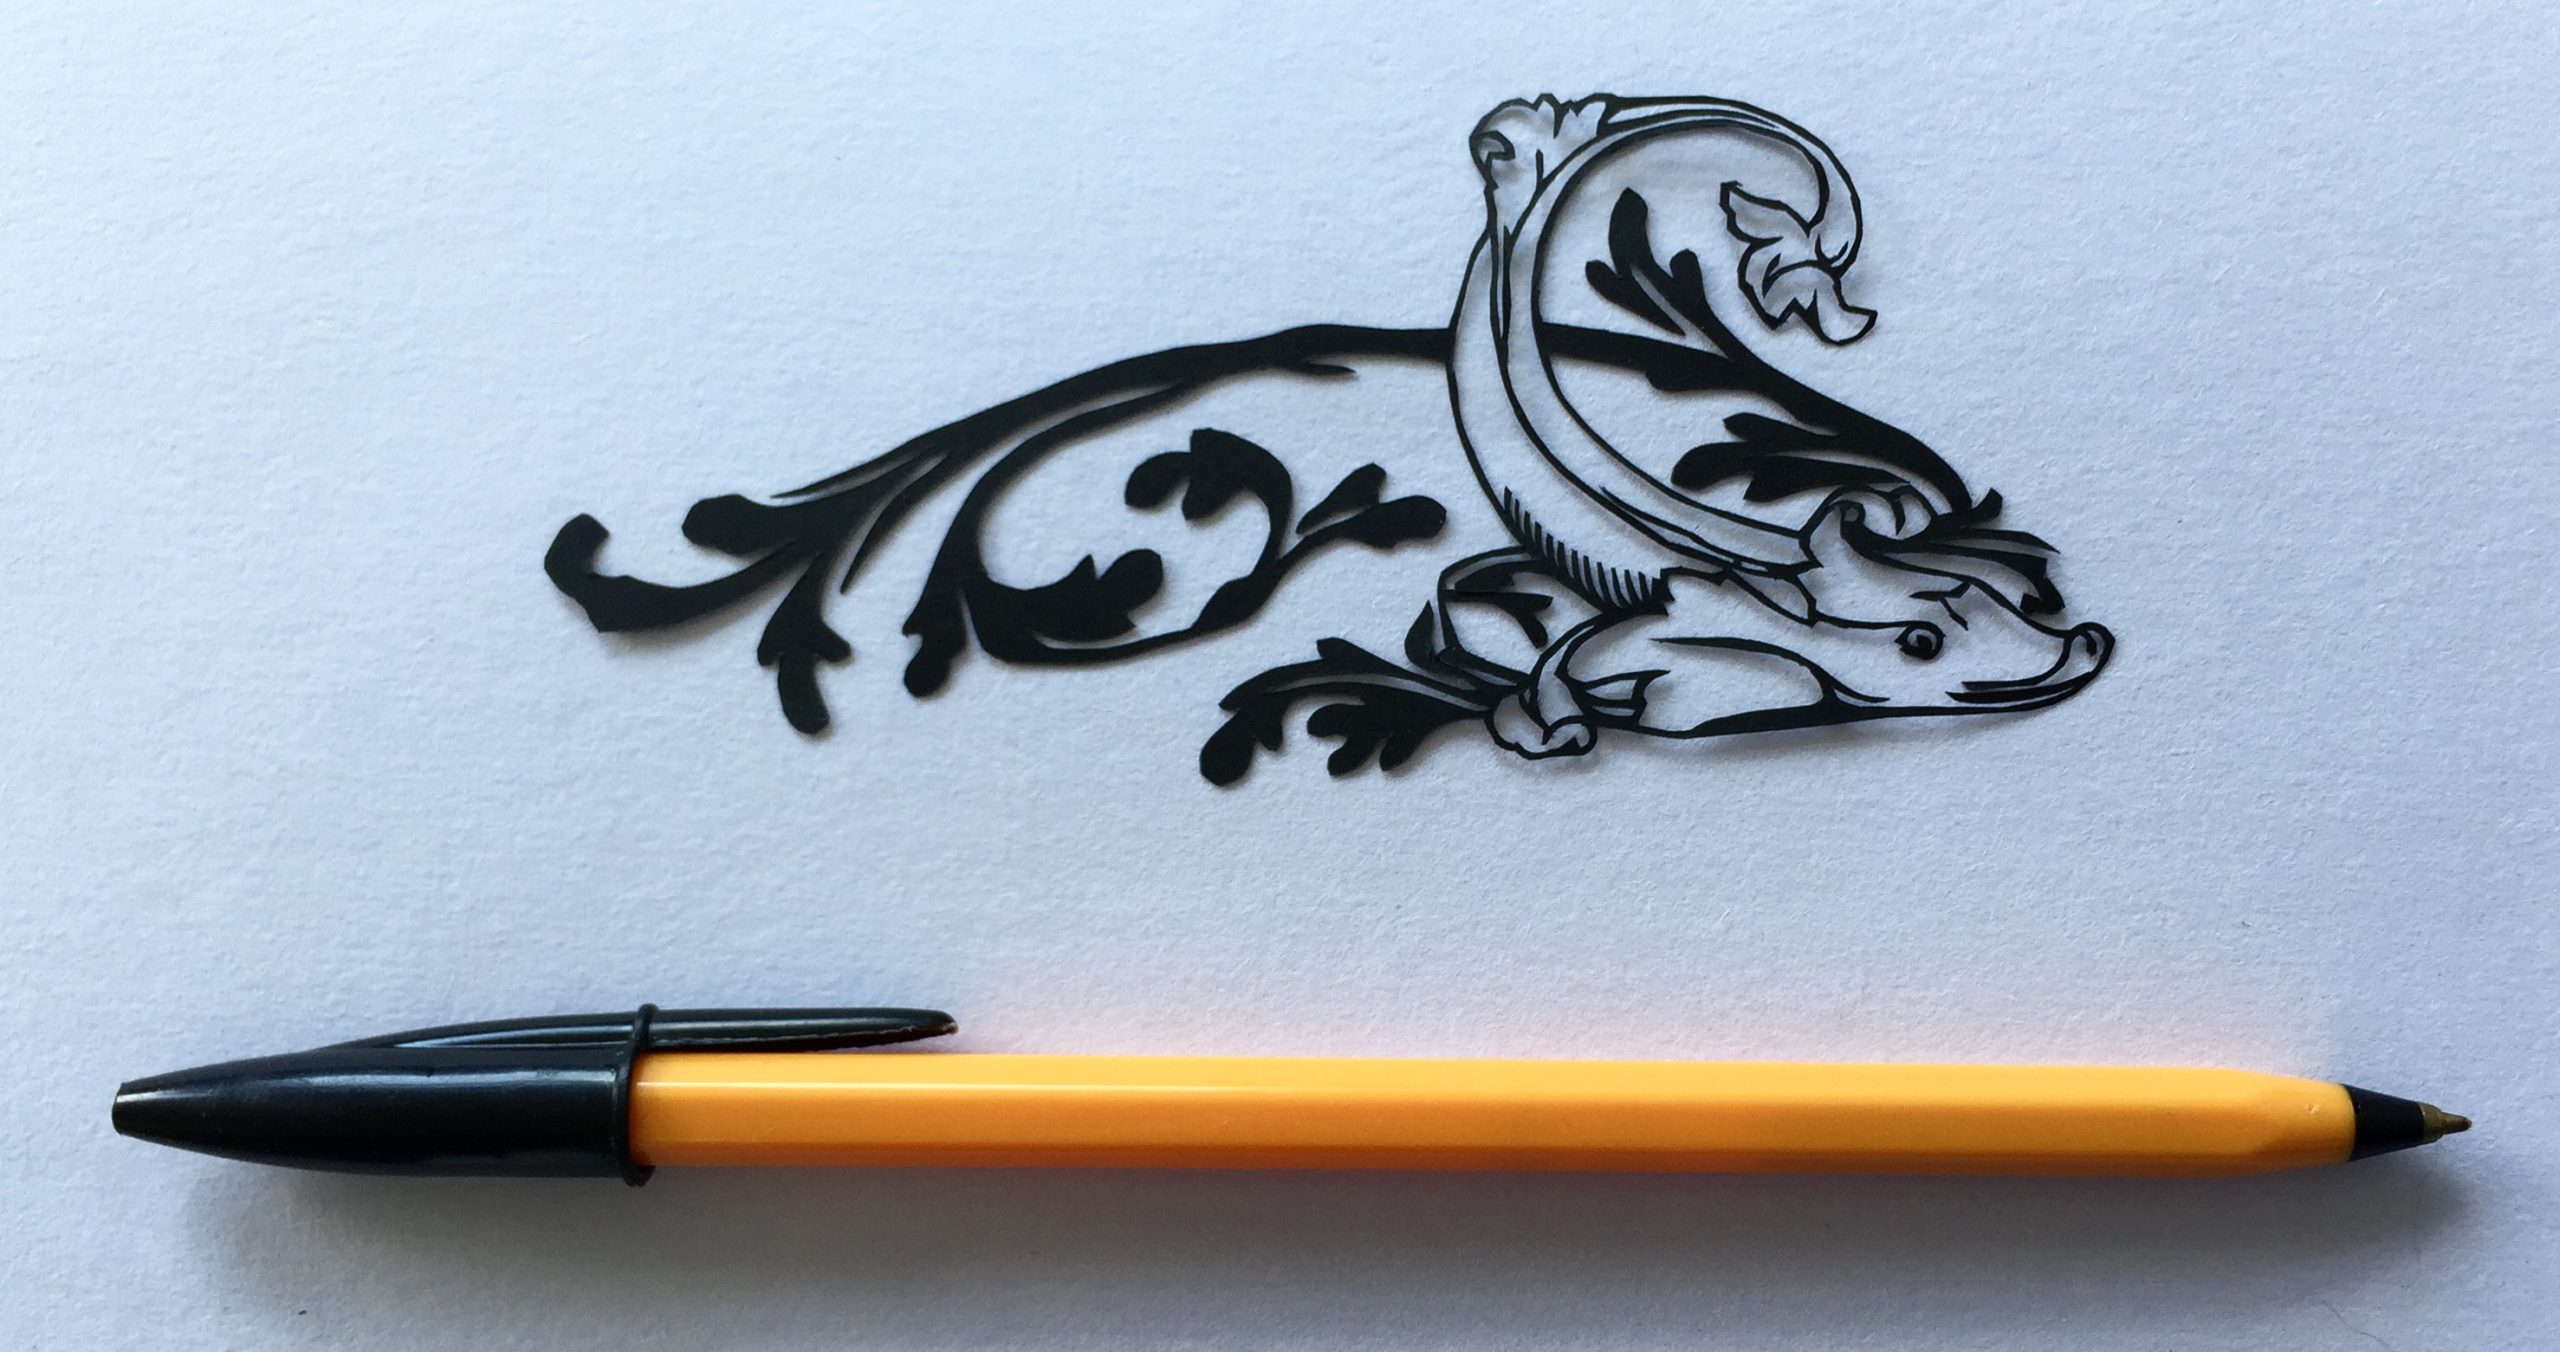
(Continuing my papercutting project – trying to adapt and hand-cut projects based on all of the designs in “922 Decorative Vector Ornaments” by Dover Books.) None of the designs in the book have names, they just have numbers. So because this design looks like a couple of bunches of grapes and a dangly vine-y thing, I’ve naturally called it “Grapes and Vine”.
(Note: some of the links below are affiliate links. If you’d like to find out more then please check out my policies page.)
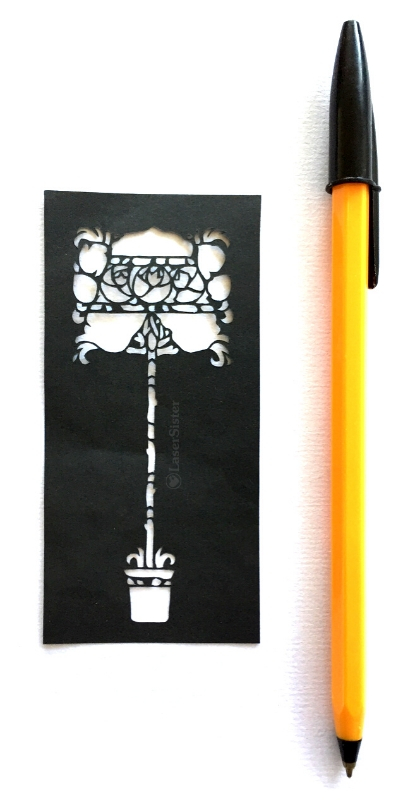
Grapes and Vine Papercutting K726
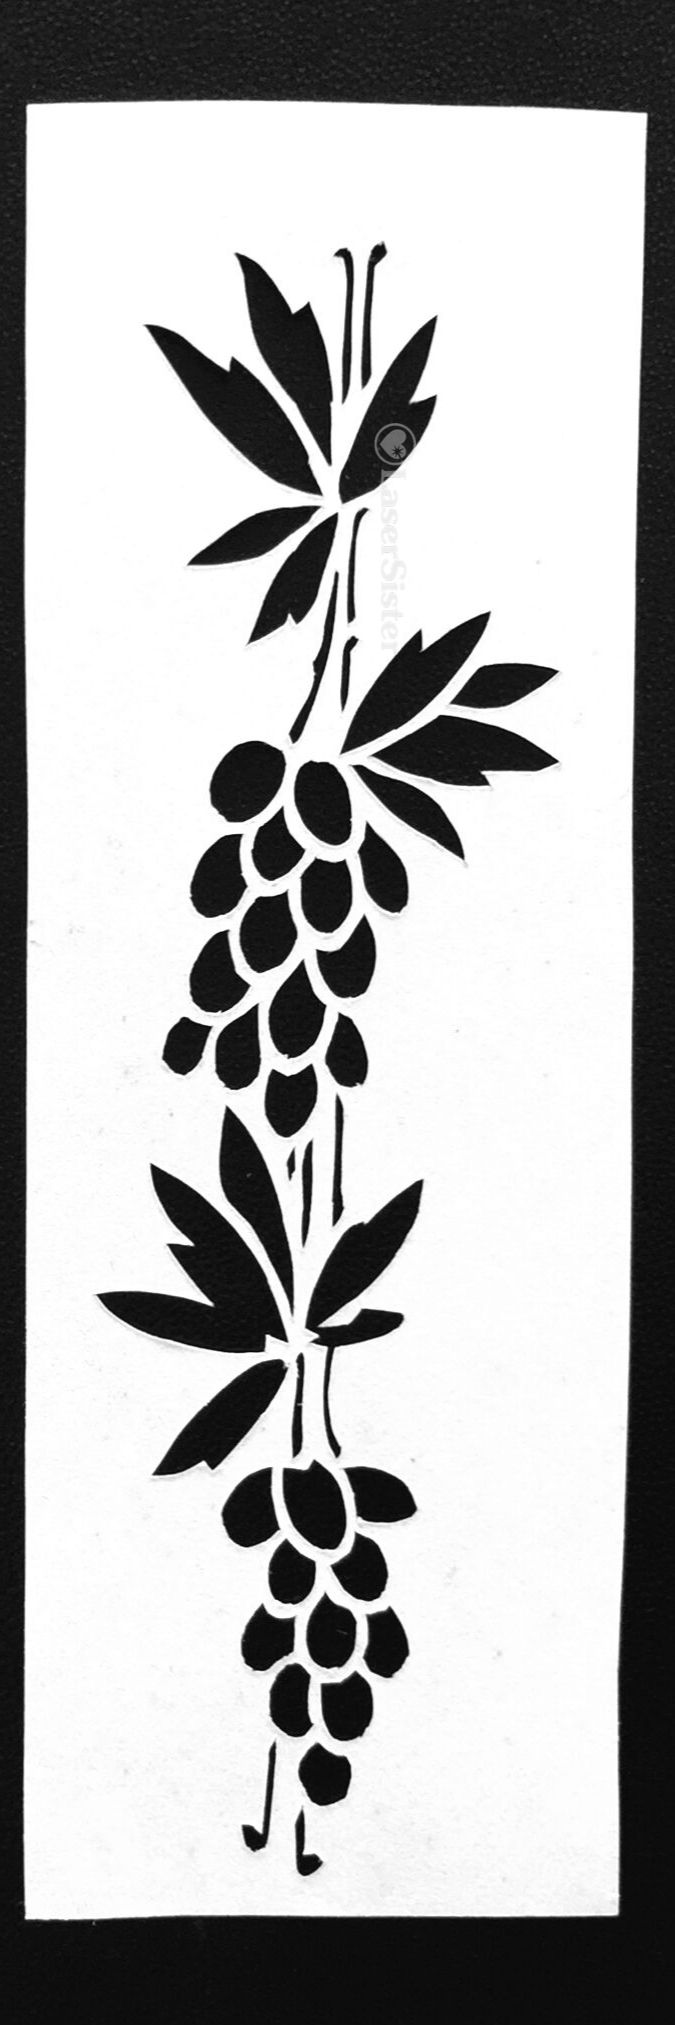
Design number 726 in the book was a challenge. (Sorry about the out-of-focus image, by the way. I’ll try to take a better version one day, but at least the closeup version is OK.) It’s got very very thin lines to cut for the vine-y bits, and then lots of very small, very curved sections (i.e. the grape-looking bits). I tackled these with a new scalpel blade, because by now I have got enough experience in papercutting to know that small round objects and thin lines should automatically make me reach for a fresh blade.
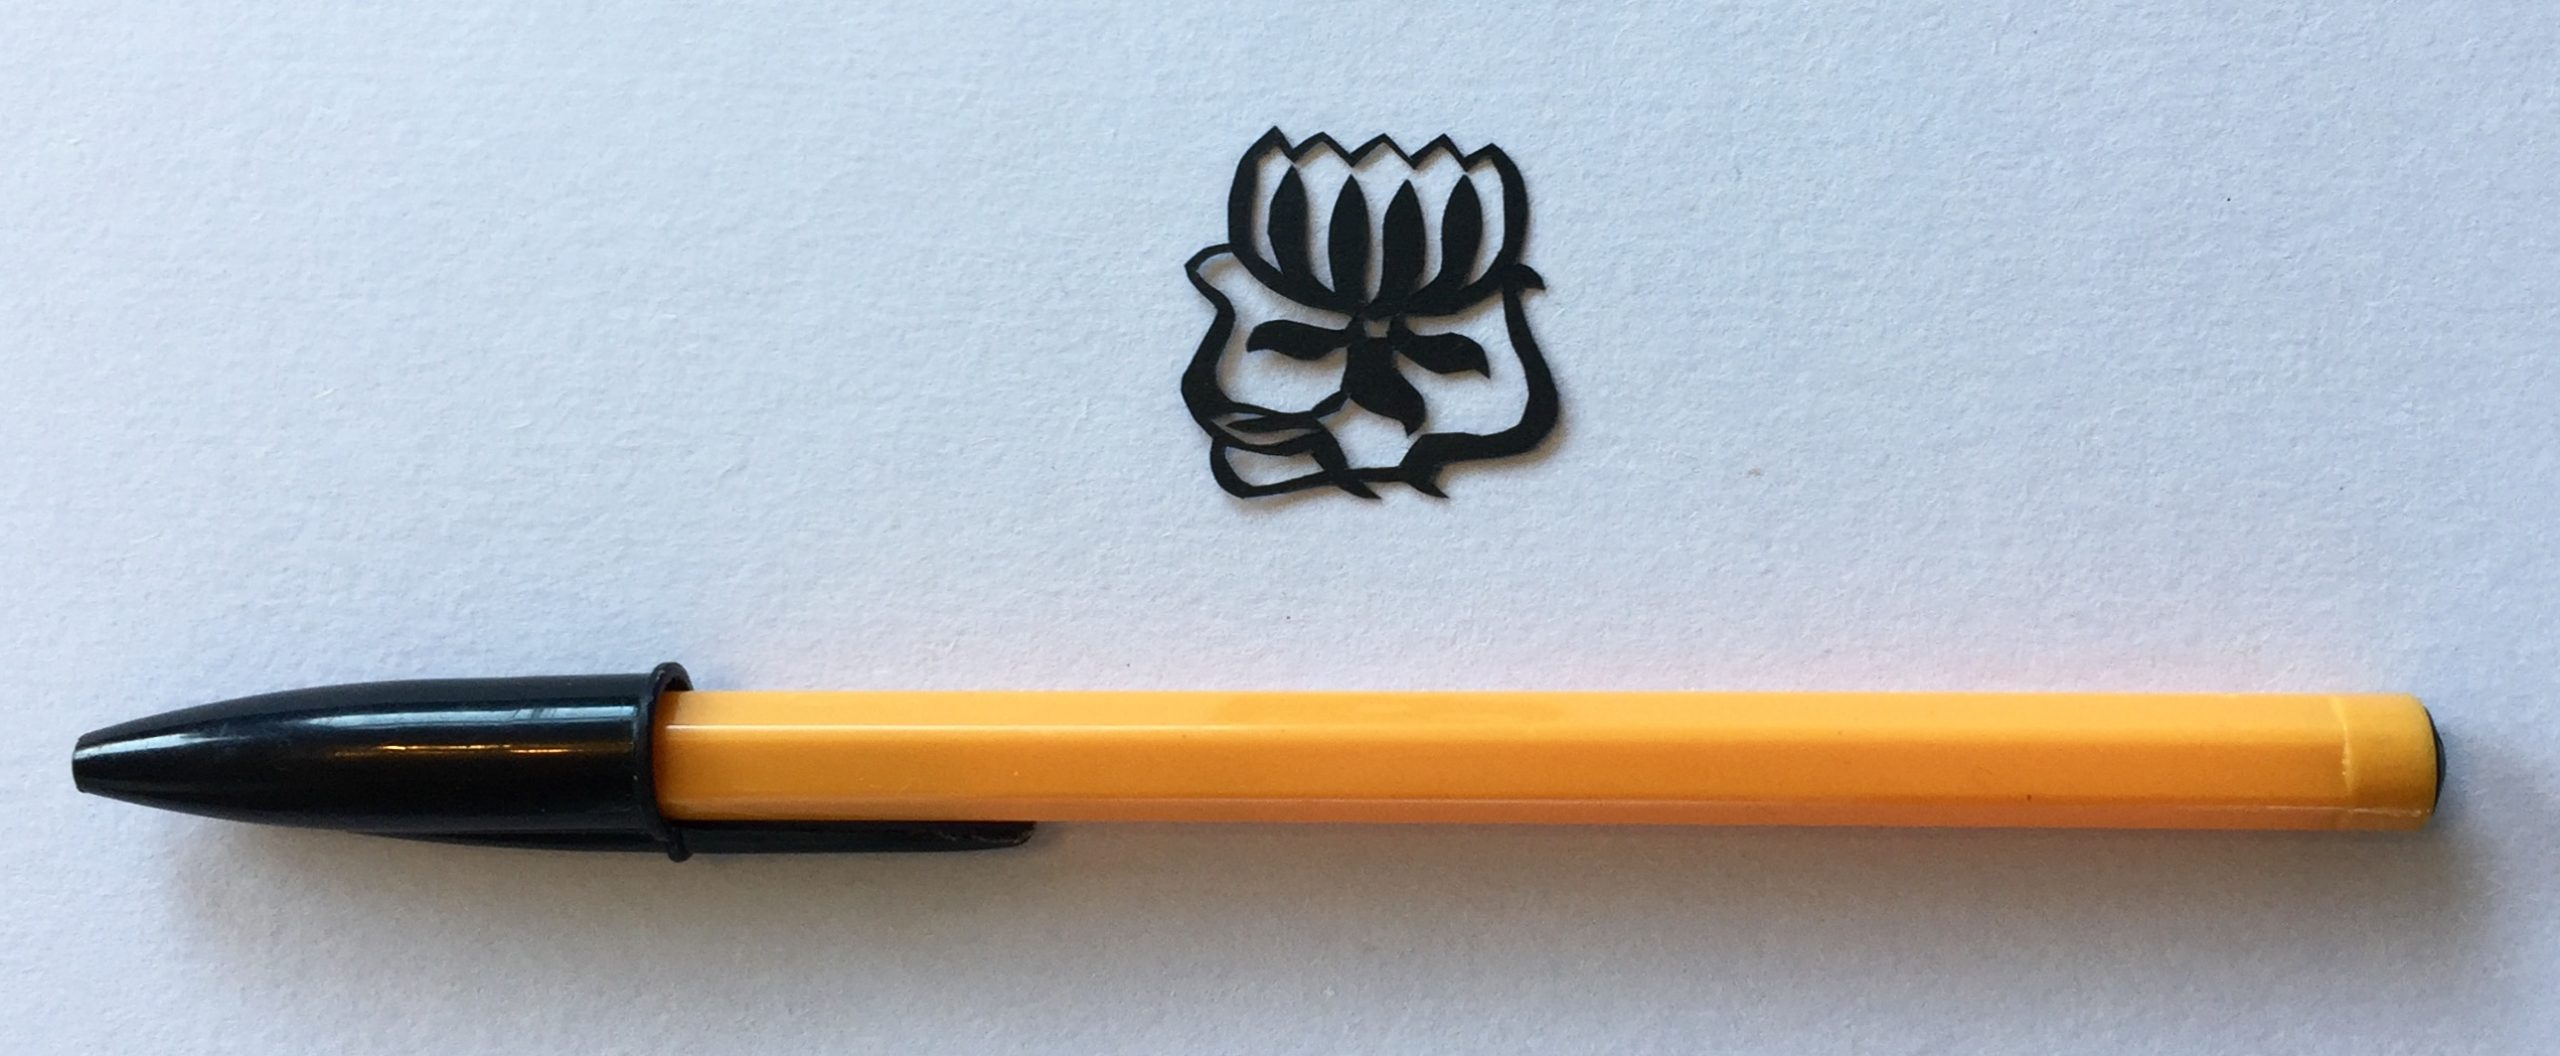
Closer up:
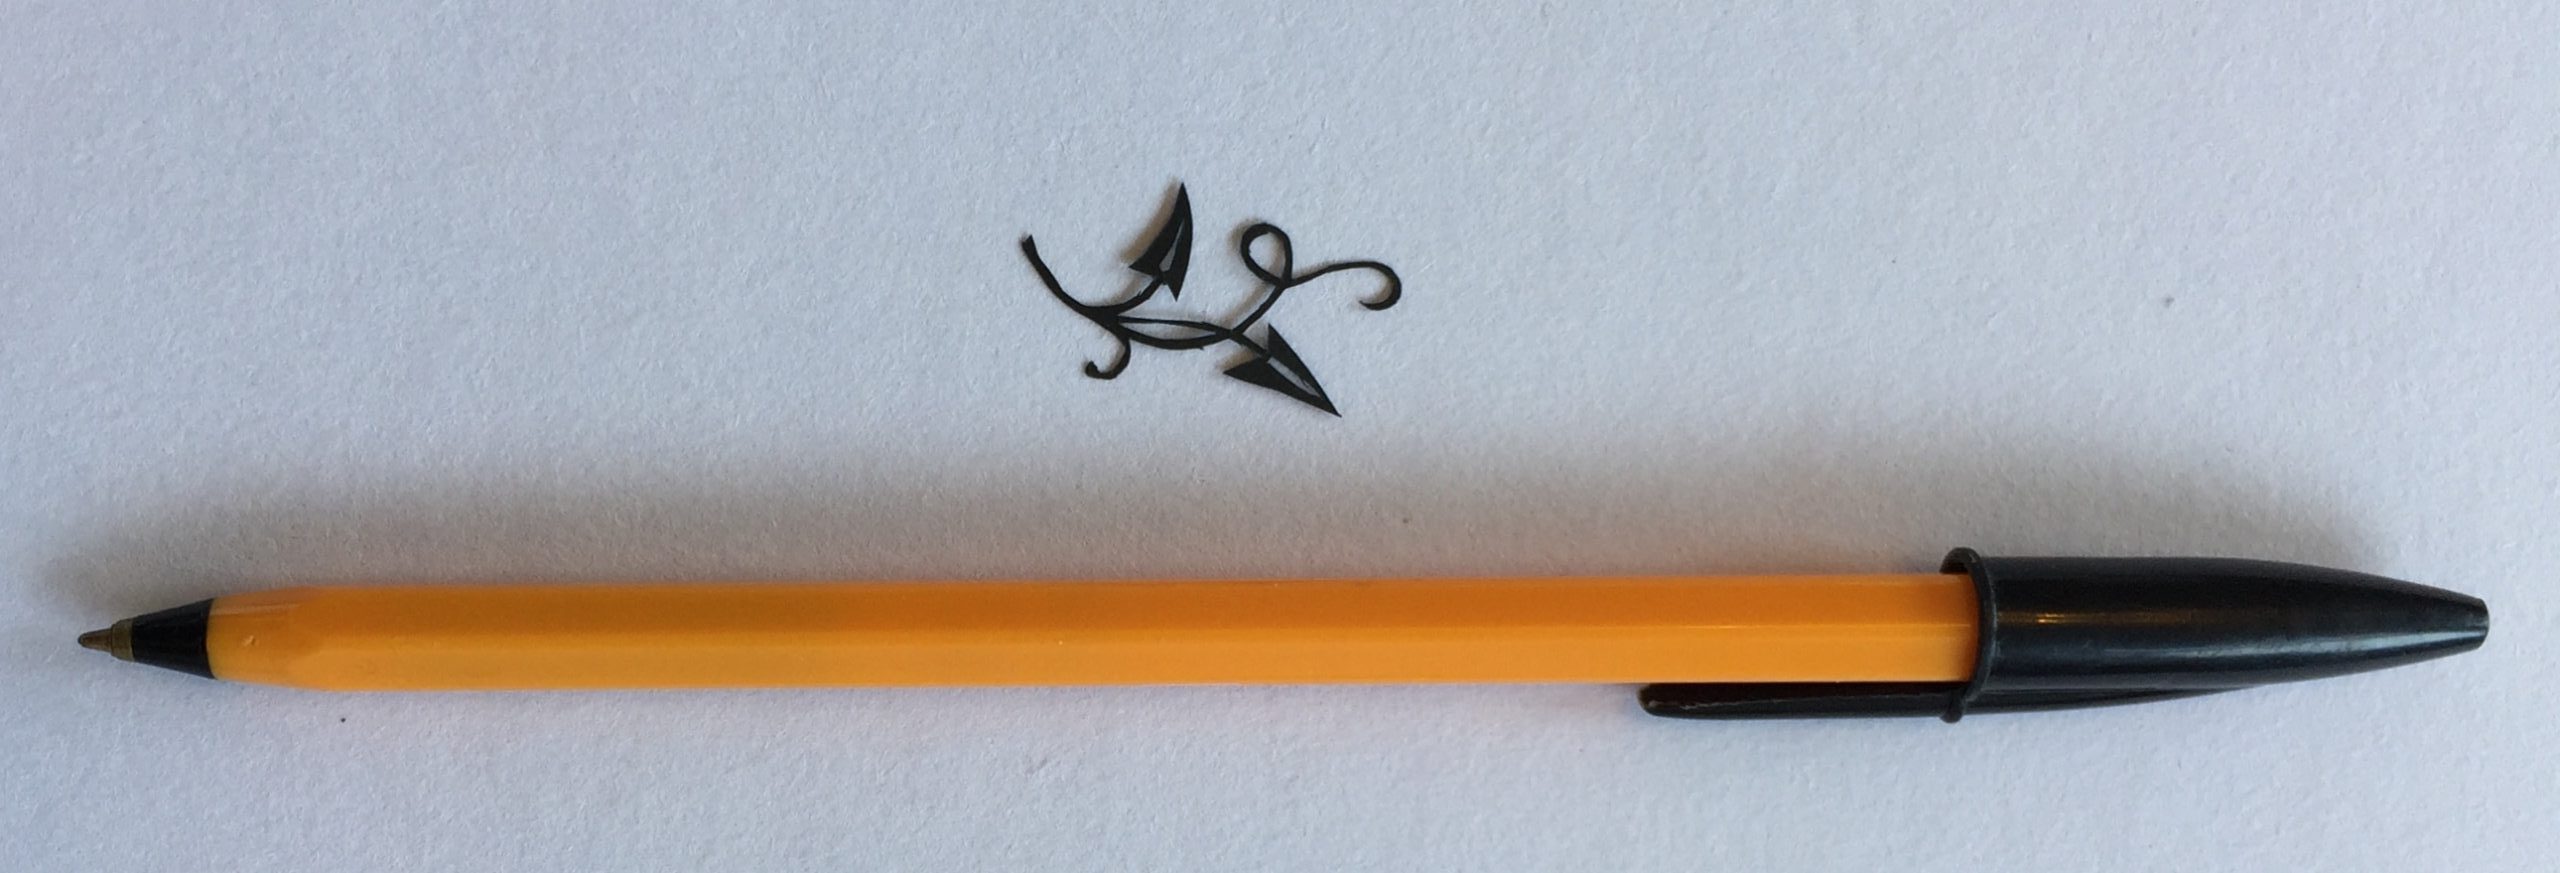
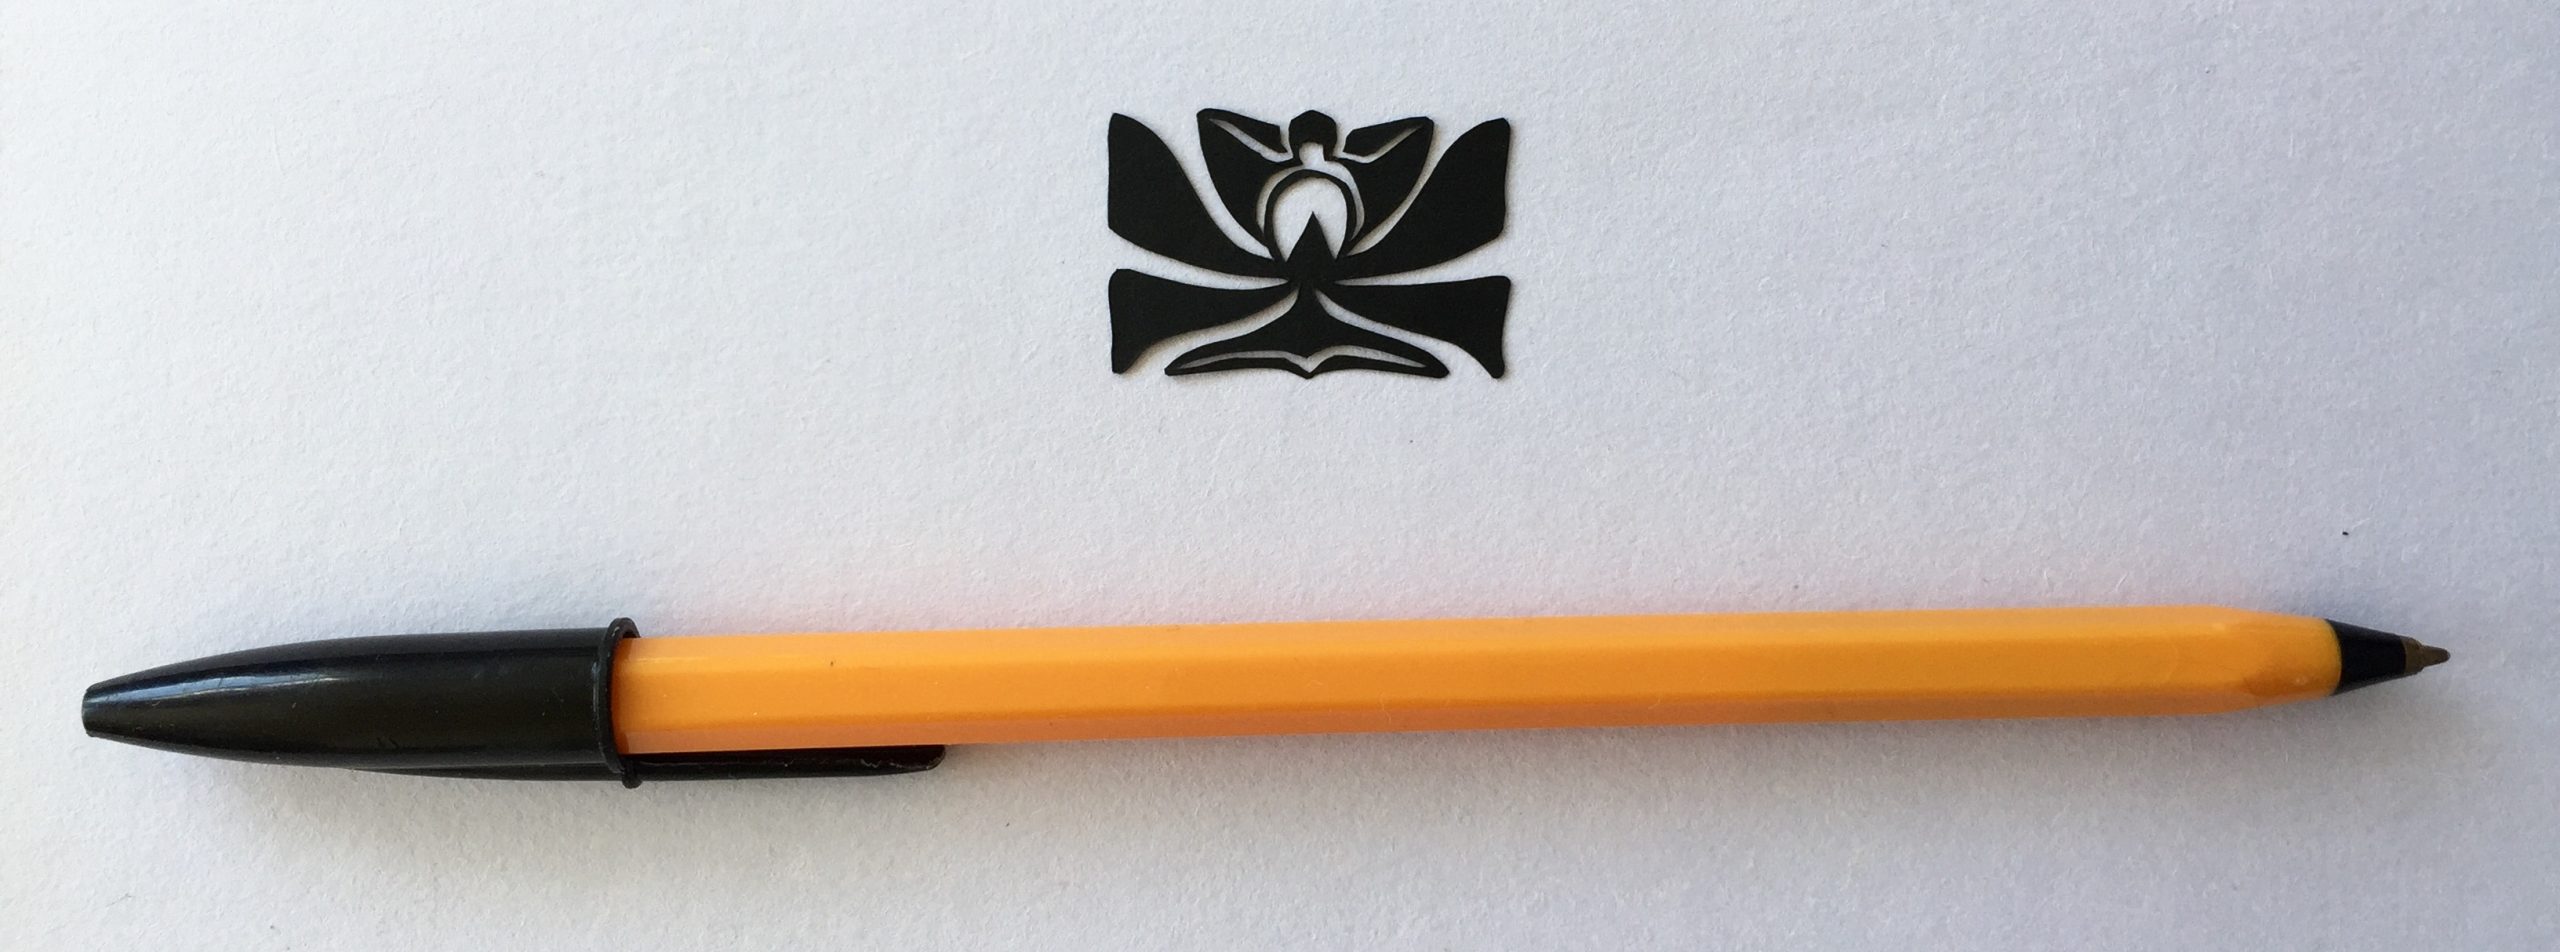
Even Closer up
I did tidy the design up a bit after I’d cut it, and overall I’m quite pleased with it. However, when you look at it really close up, you can see the places on most of the grapes where I’ve changed position of the blade or paper mid-cut. (See below, circled in red…):
The perfectionist in me obviously doesn’t like this. And yet the positive, celebratory, skill-learning, “evolving” person in me is very pleased that there are a couple of grapes where this effect isn’t as noticeable. (Plus this is VERY close up, and probably not even noticeable in ‘real life’!)
But the skill-learning, “evolving” person in me is also wondering if it is possible to improve my technique even more. If I keep practising and learning about papercutting techniques, might I eventually get to a stage where I can cut pieces without these little blips showing?
I think it would feel very satisfying to know that I had the skills to cut a ‘perfect’ design.
On the other hand, a laser cutting machine can already cut everything perfectly – and also much more quickly – and so is there any point in me trying to be perfect? And what if it looked perfect this close up, but then at a further level of magnification there were still some flaws that showed up? Where should I draw the line?!
OK – I think I’ve come to a conclusion. I am going to aim for “excellent” rather than “perfect”. Because perfection, as I’ve just realised above, is impossible anyway. There will always be one further magnification that can show more errors.
Mind you, what does “excellent” mean? Oh dear. Here we go again…
Do you have any advice about improving my cutting (e.g. to avoid making those little marks when I change the position of the paper or the blade)? You can chip in via the comments page, or Facebook, Twitter, LinkedIn or Instagram.