
 Laser-cut bunting for my stand at Autumn Fair.

 Laser-cut bunting for my stand at Autumn Fair.

The previous article described how to use ready-made stock vector images for lasercutting work, but sometimes (depending on how the artist created the original image) it can still take several hours of ‘tweaking’ to make them suitable for your own project.
What if you already know the sort of design you want, and could draw it quickly by hand but you’re stuck with using a mouse or trackpad that doesn’t quite do the job? This article will show a quick way to create hand-drawn vector images for your lasercutting projects, that you know will be exactly right for your work because you created them. Plus they’re original and you don’t need to pay anyone for the rights to use them!
You will need:
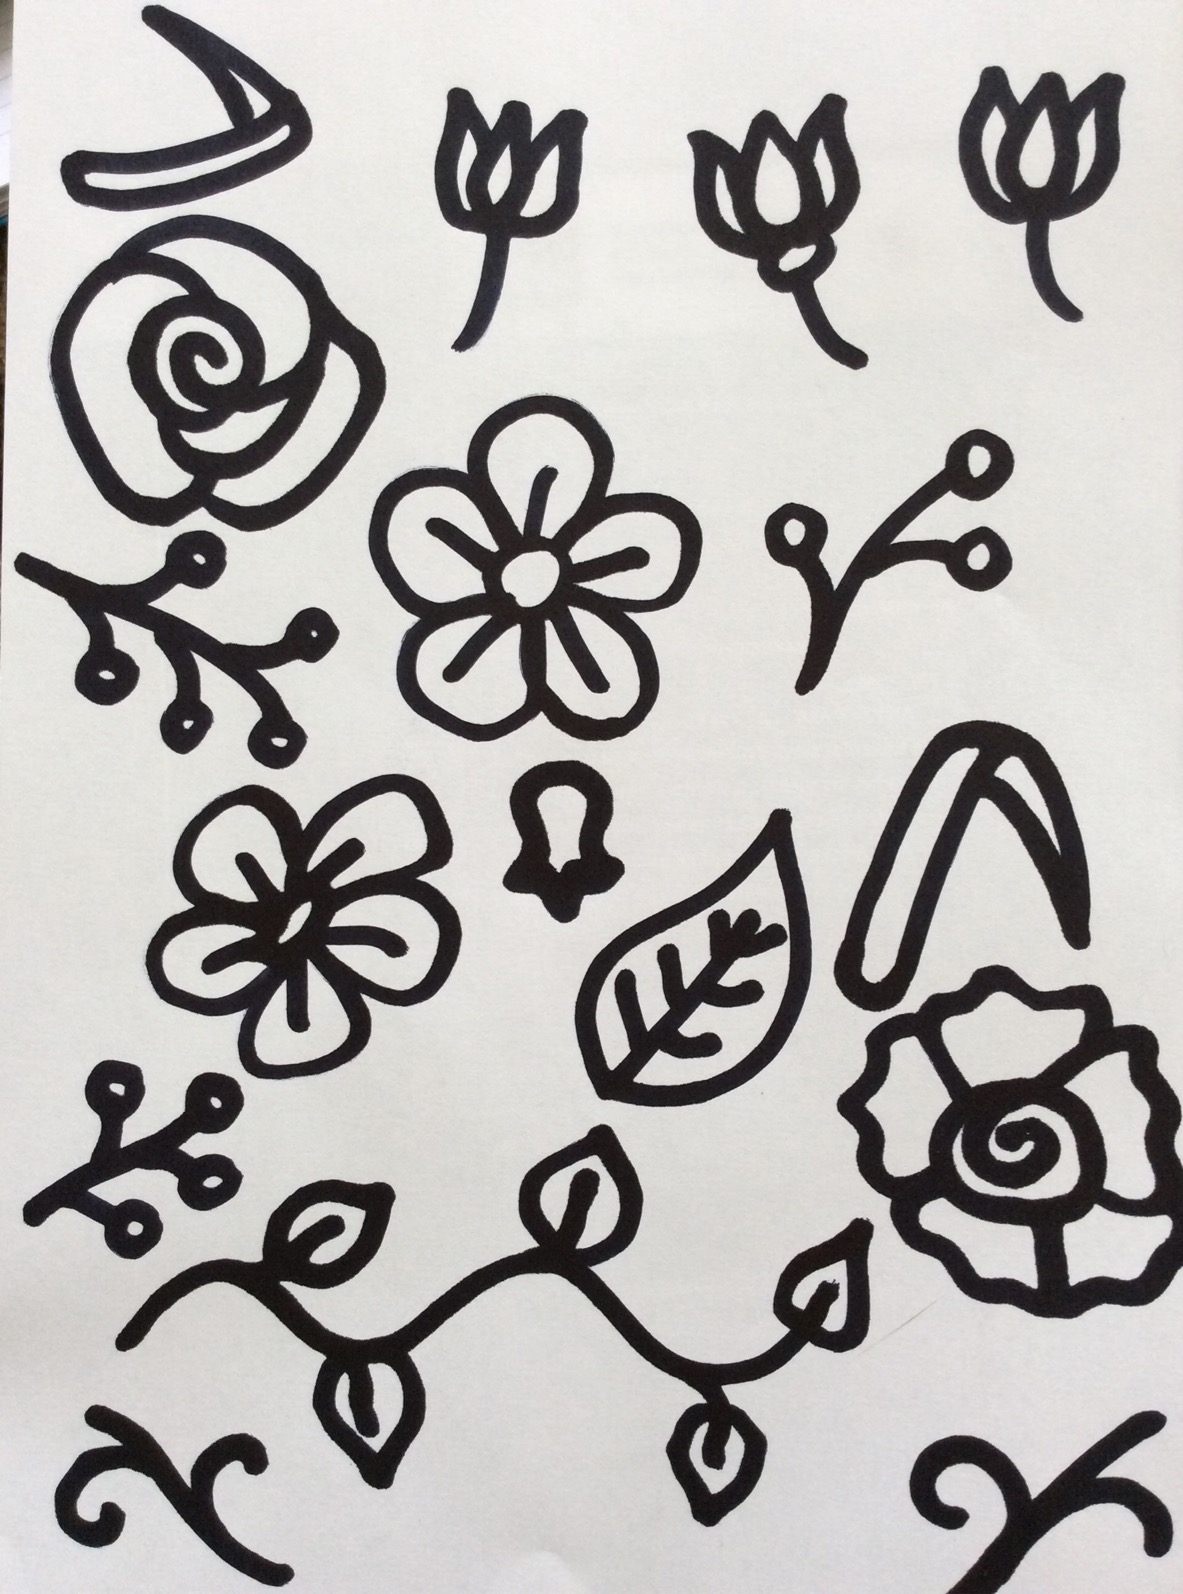
Step 1: Use the thick black pen to draw your designs.

Step 2: Scan or photograph your hand-drawn image, and save it somewhere that you’ll be able to retrieve it from your drawing application.
Step 3: Open your drawing software and import the image (in CorelDraw use Ctrl + I, and in Illustrator I think it’s File > Place)
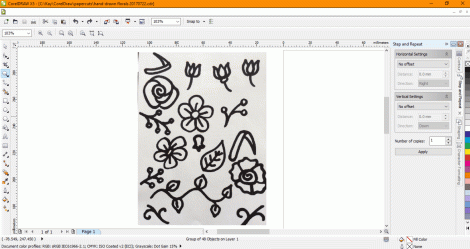
Step 4: Now you basically need to get the software to turn your photo (millions of pixels) into vectors (hundreds of coordinates), so you’ll be able to create a design that your laser can cut. In CorelDraw you can do this by selecting the image and then go to Bitmaps > Quick Trace. (In Illustrator it’s called Live Trace.) The software then simplifies blocks of colour and turns them into separate objects:

Step 5: (Optional) The software doesn’t always get the conversion exactly right, so you might end up with an object made up of a couple of layers of colour (in the case below, there is a solid black flower outline, with some grey petal shapes on top of it, instead of being made of thin black outlines). In CorelDraw it’s easy to ungroup the object (Ctrl + U), and then highlight the group of object (e.g. the flower in this case) and go into Arrange > Shaping > Back Minus Front.


Step 6: (Optional) If you want, you can copy shapes and/or move or re-size them until you have the design that you want.
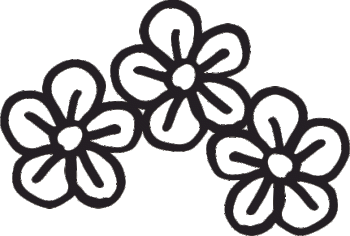
Step 7: If you want to cut the shapes then make sure they have a thin or hairline-width outline, but if you just want to etch the shapes then they don’t need the thin outline:
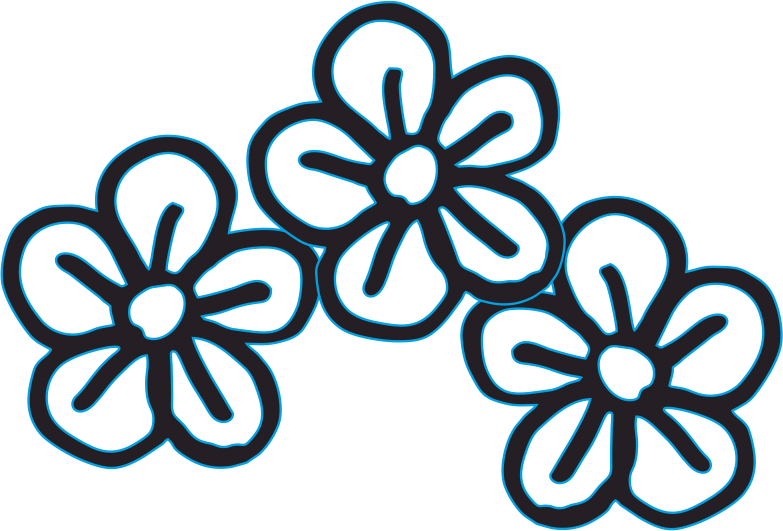
Step 8: (Optional) If you have combined several shapes in one design, you may need to ‘weld’ them together before you cut them. The laser cutter will cut anything that has a thin outline, and so in the example above, the three flowers would be cut out separately. To make sure the laser sees all of the flowers as one design and not as individual objects to cut out, you can use the ‘weld’ function (in CorelDraw it’s Arrange > Shaping > Weld.)

The design should now cut properly.

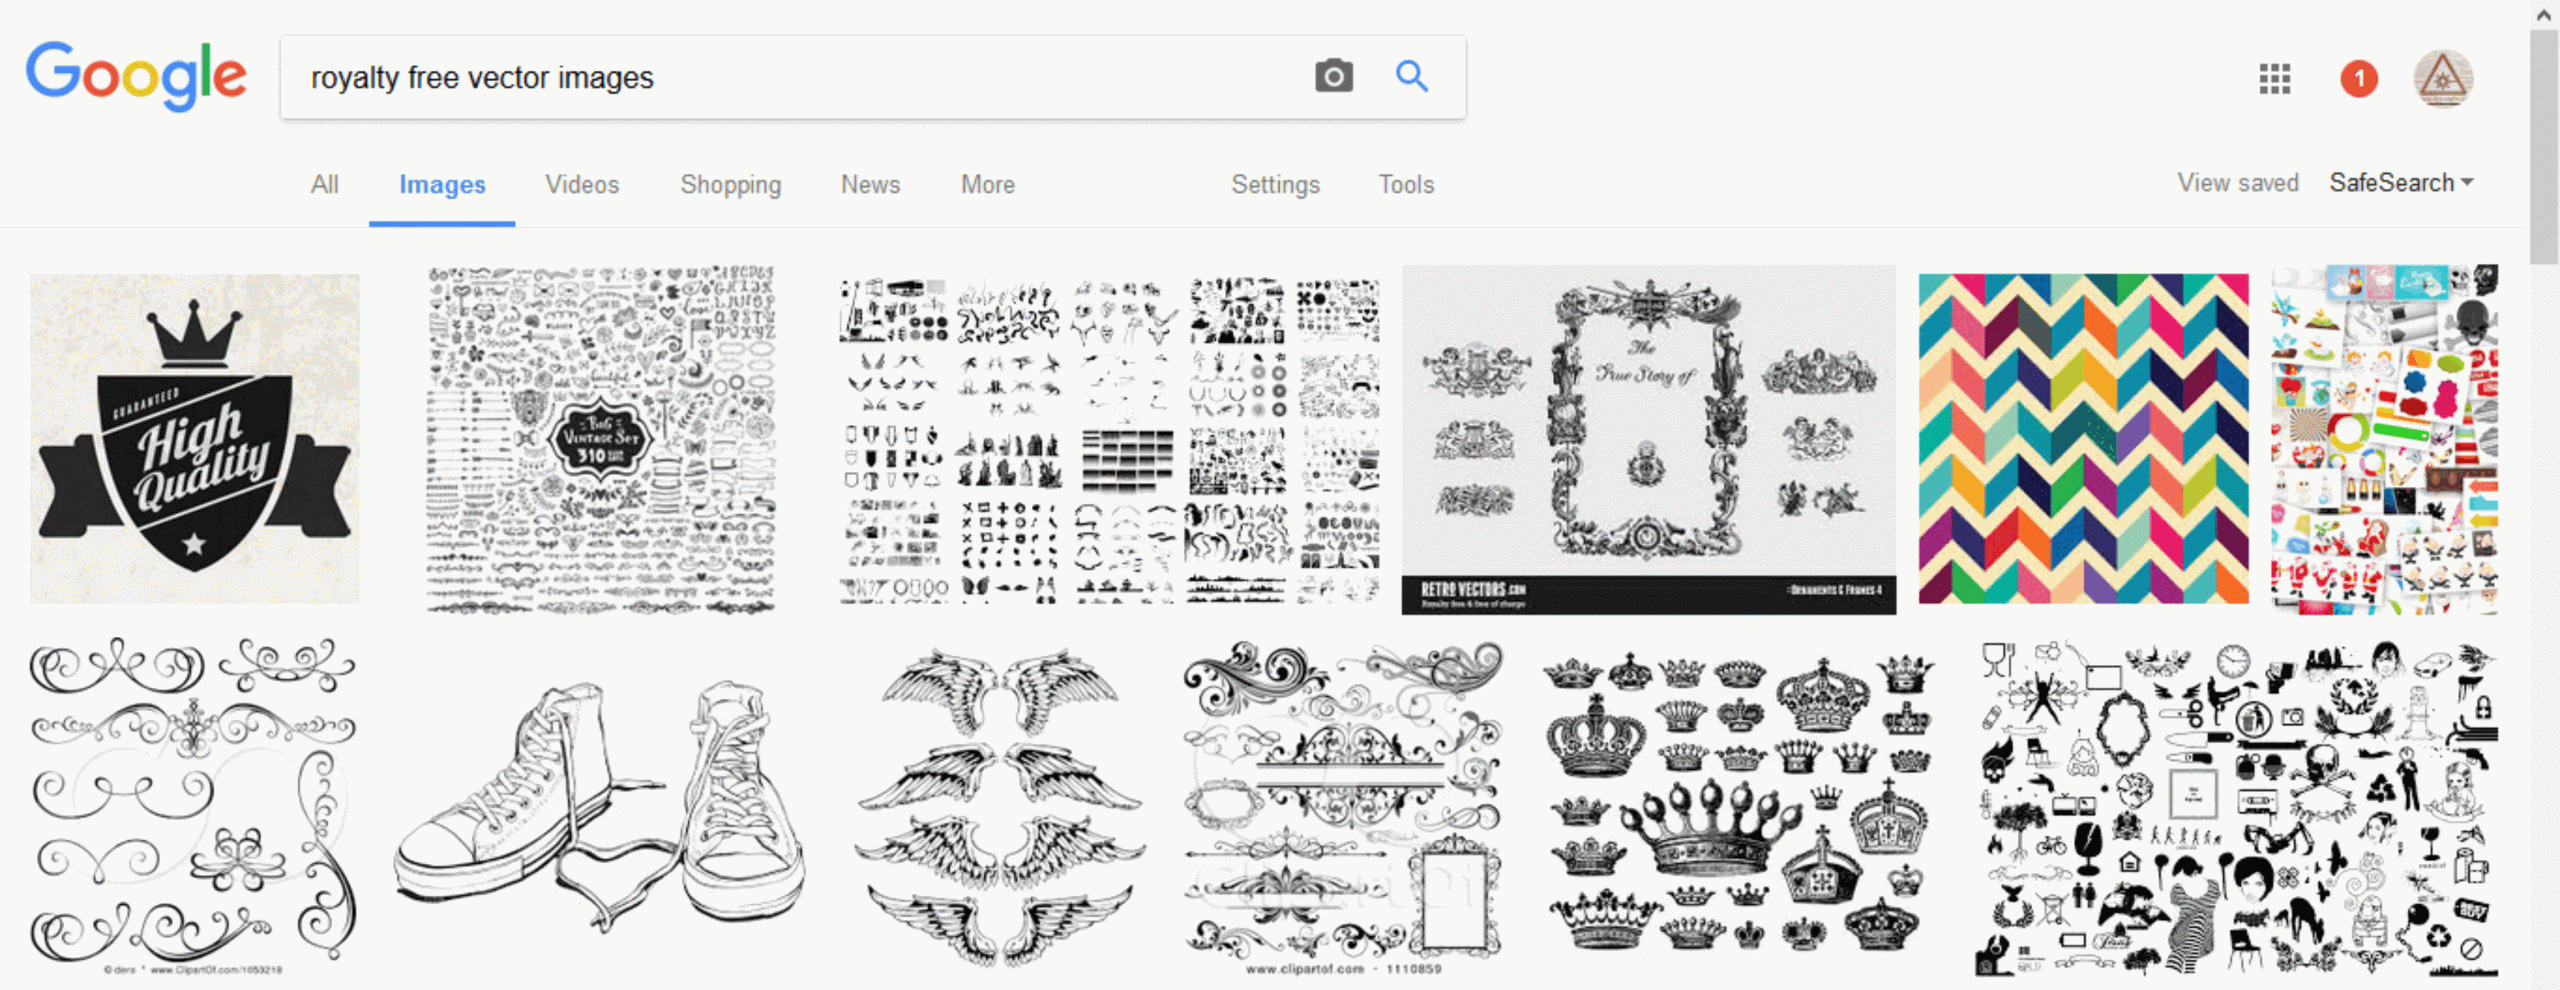

If you have a laser business it’s often hard to find the time to create new designs when you are already busy with making existing products. One way to save time is to use existing “stock” images, to help fast-forward the design process.
There are many stock image services online where you can find existing vector designs, created by professional designers or independent artists. And each of these websites has a huge range of images, suitable for just about every occasion.
Just do a search for “royalty free vector images”, and you’ll find examples of services like Shutterstock, iStockPhotos, Adobe, Dreamstime, Vectorstock, etc.

Note: Although these images are ‘royalty free’ (you don’t have to keep paying every time you use them in your own products), the designs do usually cost something to actually buy in the first place.
There are also different types of license that you purchase. It is often free or fairly cheap (e.g. $1USD, or £1GBP per image) to download an image if you are just buying it for your own personal use. However if you want to sell products with these images on them, you usually need to buy an ‘extended’ license, which lets you make multiple copies of the designs and sell objects which include them.

Luckily, there are also a few rare sites and collections which include free royalty free images (!) for commercial use. In other words, this is where either the image is out of copyright, or the artist has given permission for other people to make multiple copies of their designs and sell objects that include it.
Examples of some of these sites include CraftsmanSpace, Vector4Free, FreeVectors, BUT be careful again that the license allows commercial use (i.e. it lets you copy the image and use it on products that you sell).
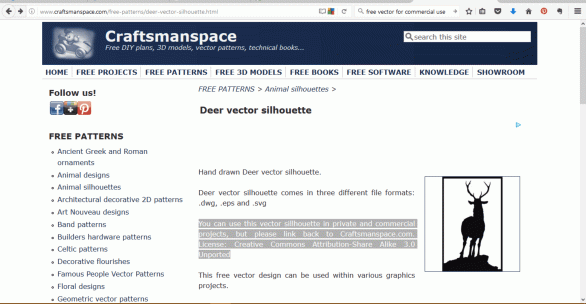
Once you’ve found a suitable vector image on the website, here are the general steps you will need to follow:
Step 1: Download the image and save it in a folder or system where you’ll be able to easily find it again (e.g. create a folder called “vector downloads for commercial use”).
Step 2: Open a new document in your drawing/design software (e.g. CorelDraw).
Step 3: Import the saved vector into the new document.

Step 4: Then depending on your laser system: if you want to cut the image, make sure it has got hairline (or very thin) outline, and if you want to etch the image, make sure it hasn’t got the thin outline.
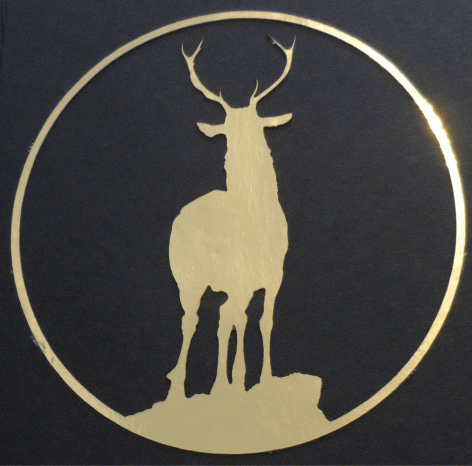
So that’s it. Instead of spending hours drawing and tweaking your own designs (when you could be doing some lasercutting), just search for a vector that you like, make sure that you’ve got the rights to reproduce it commercially, and download it into your drawing software.
Hope you find this article useful – if so (or if there’s something else you think I should have mentioned), please feel free to comment or use the Contact page. Cheeers.
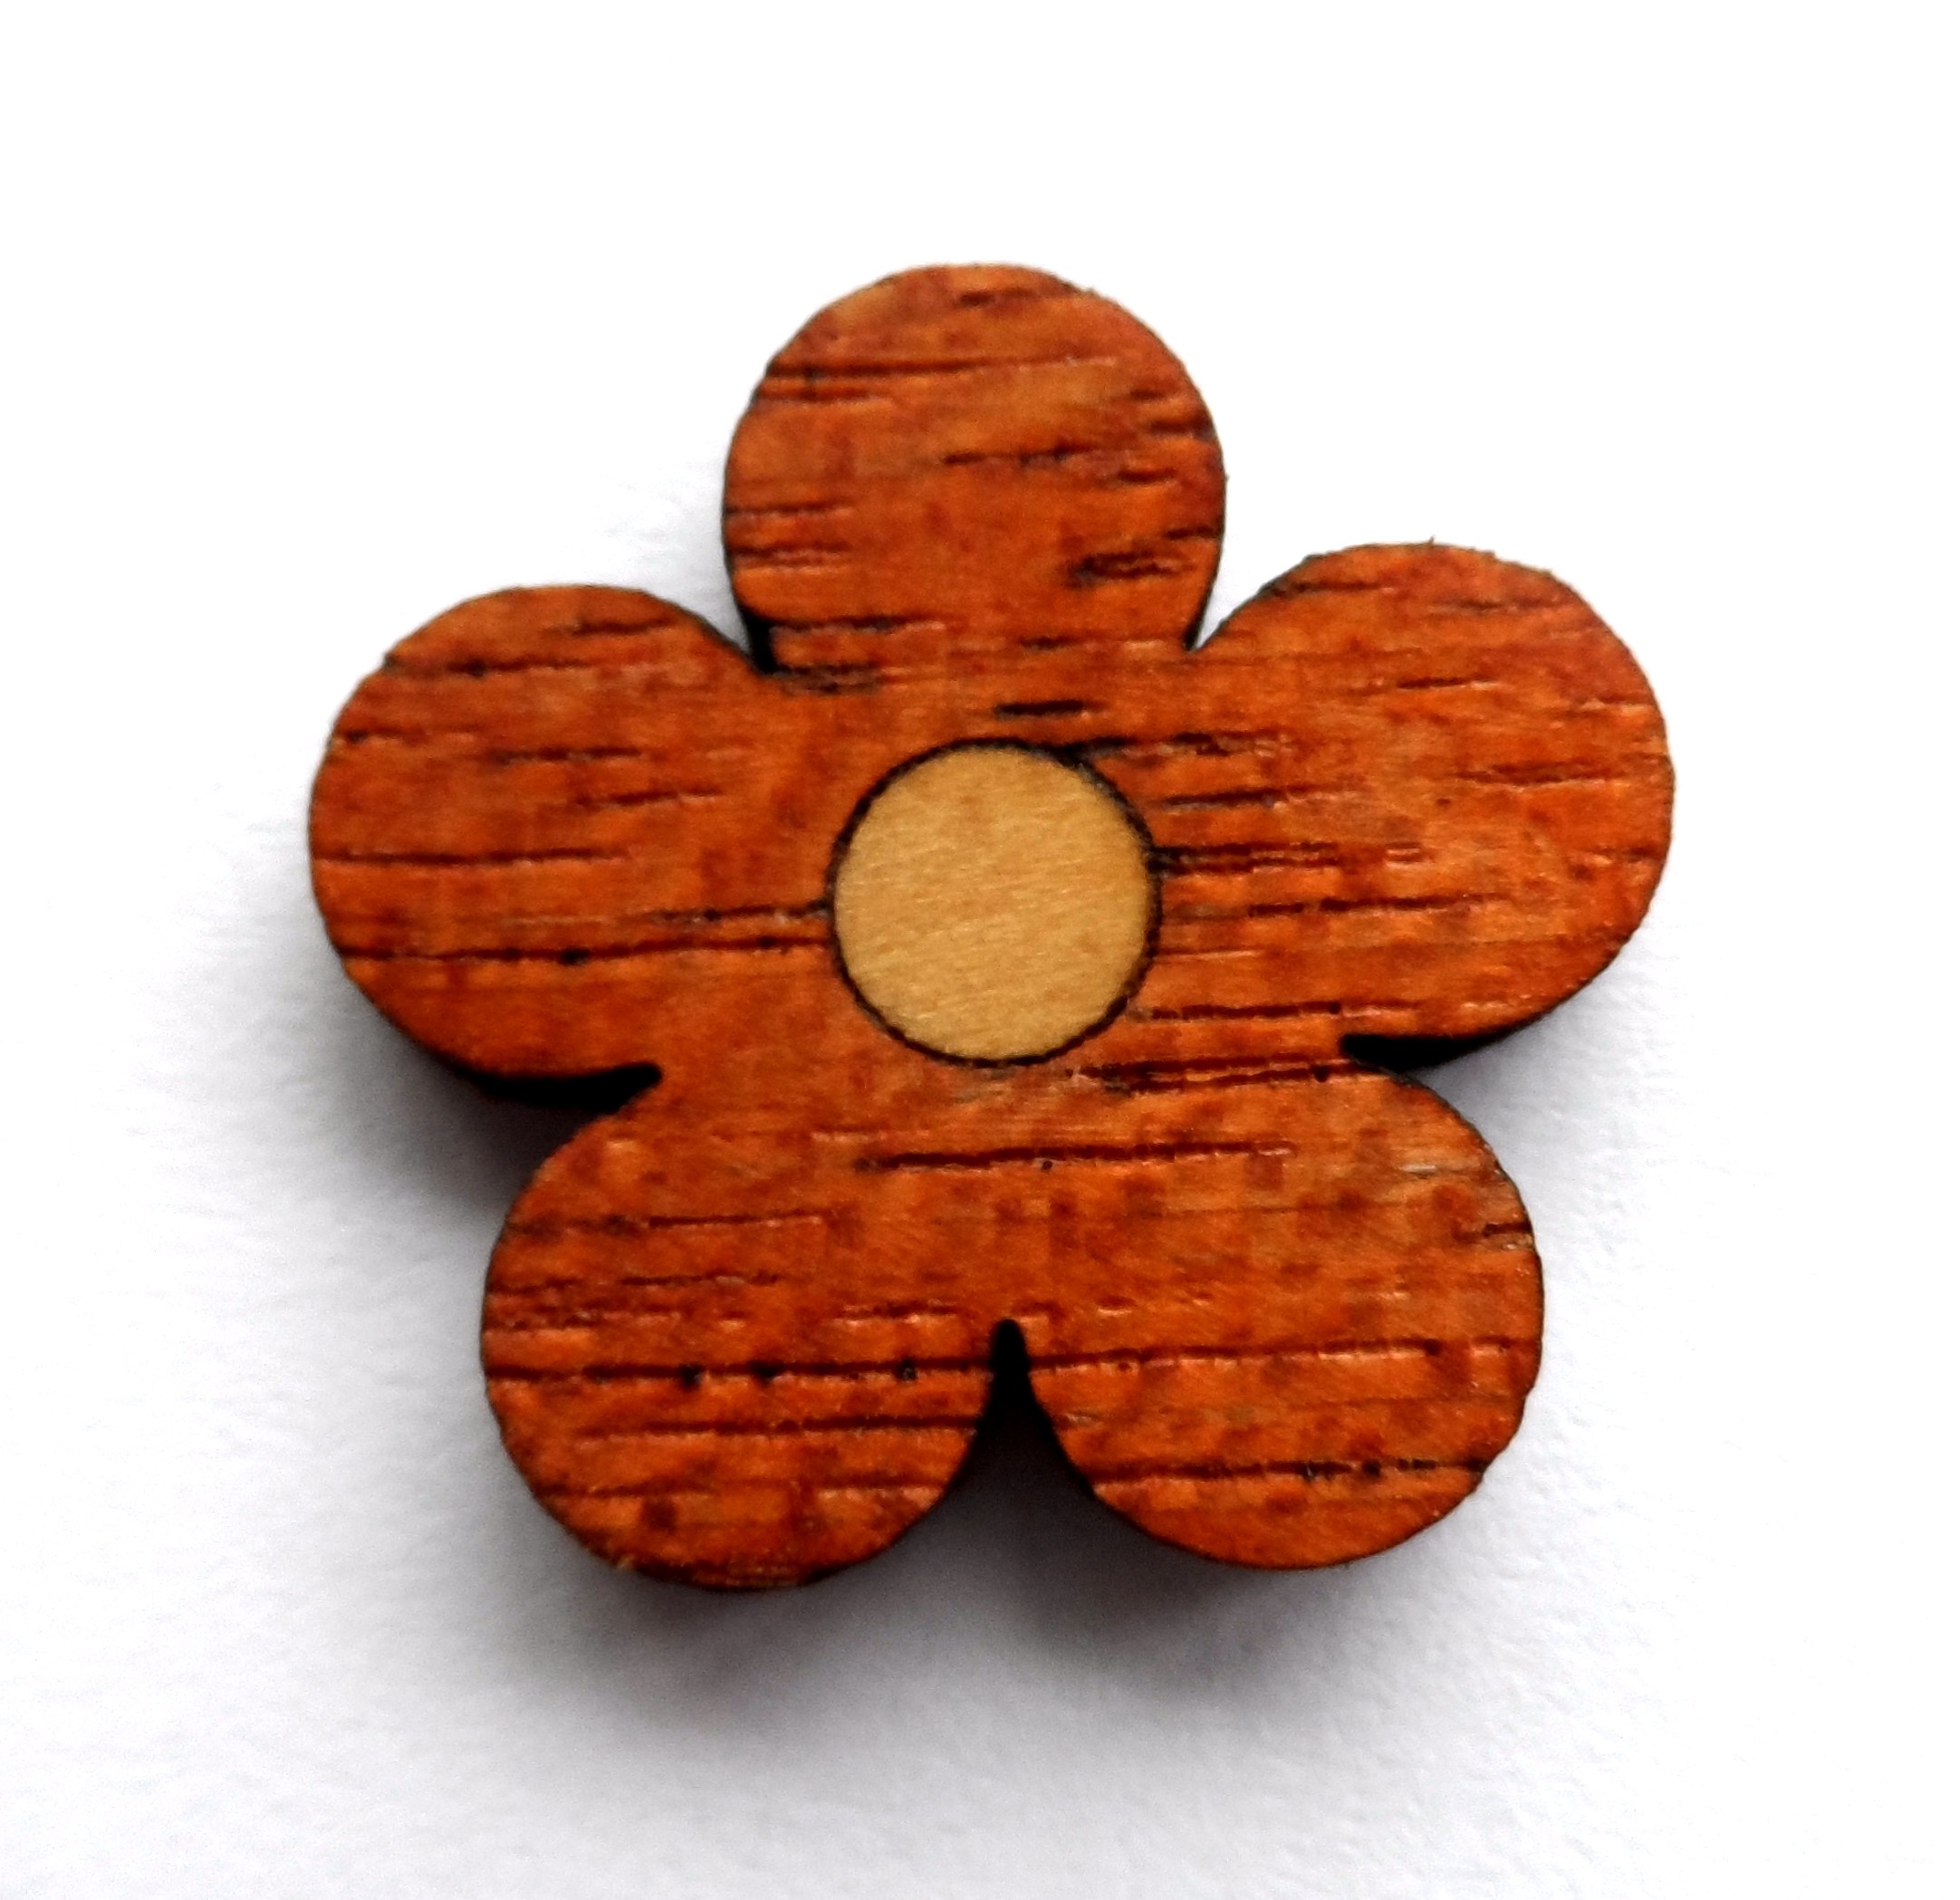

Marquetry is the art of applying thin veneers of wood to another surface (usually also wood), to create a design.
The method below is a fairly quick and ‘cheaty’ way to make marquetry-effect designs with a laser cutter. I may write a post later on a different method, but in the meantime:
First you need at least two different types of wood, in different shades. One should be a very thin veneer-thickness wood (e.g. approx 1mm or 1/32in thick). The other should be at least twice as thick as the veneer wood (e.g. approx 2mm or 1/16in thick).
For example, your thicker piece could be a light birch wood, and the darker wood could be a special veneer wood.
The wood I used in this case comes from www.wood-supplies.com. I’m not 100% certain which wood I used, but I think it was a sheet of 1/8in thick mahogany and a strip of 1/32in thick boxwood:

You will need:
Step 1: Create a design with whatever software you happen to use for your laser system (e.g. I use CorelDraw). I am making a simple flower design here, so I’m going to draw a basic flower with a circle ‘insert’ for the middle:

Note: As well as the design above, I also needed to design an ‘insert’ shape to put in the round hole above. So I duplicated the black circle and gave it an outline (see step 2 for illustration).
Step 2: Cut the insert shape from the veneer- thickness wood. (If it’s a very small piece, make sure you include a ‘sprue’ in the design, so it doesn’t drop through the cutting bed. For more info on creating sprues, please check out this article.)

Step 3: measure the thickness of the piece you just cut.

Step 4: (Optional) If you’re starting from scratch then etch a test piece first. Measure how deep the etching is, then adjust the power/speed settings as necessary. You need to etch just a little bit deeper than the depth of the thin (veneer wood) piece. This is to take into account the layer of glue that will be used. So if your measurement of the veneer wood piece was 1mm thick, then you need to etch the design into the thicker wood so that the etched design is approx 1.2mm deep.
If there is too much charring or the etching doesn’t go deep enough even on 100% power, you may need to etch the same design again on top of the first etching, but perhaps on a slightly lower power setting. (e.g. if your veneer is 1mm thick but the etching is only 0.7mm deep, then you can etch the same design again but using less power the second time, or the second etching will be too deep.) Tip: DO NOT MOVE the piece of wood when you are measuring it, because if you need to etch again to go deeper then you want to make sure the second etch goes in exactly the same place as the first etch.
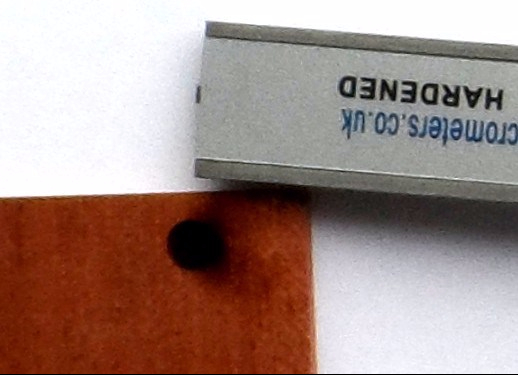
Step 5: Etch the design (the small circle, in this example) into the thicker wood. As mentioned above, you need to etch very slightly deeper than the thickness of the thinner (veneer wood) piece, to take account of the glue later. So if your measurement of the veneer wood piece was 1mm thick, then you need to etch the design into the thicker wood so that the etched design is approx. 1.2mm deep. Tip: If you’re etching twice, DO NOT MOVE the piece of wood after the first etch, because the etched design will be out of position when the finished design is cut.
Step 6: Cut the outer shape (the flower shape, in this example) from the thicker wood. Again, my laser and wood will be different to yours so I haven’t given the power/speed settings here, but if you are cutting the thicker wood for the first time then try a test piece first.

Step 7: Apply a very thin layer of glue inside the etched design.

Step 8: Insert the thin veneer piece into the etched hole, and leave the glue to dry (time will depend on the glue manufacturer’s guidelines).

Step 9: Sand the surface of the marquetry piece so that the different woods are exactly level with each other and show no scorch marks from the laser.

That’s it! Hope you liked the article. If you have any comments or questions, please feel free to share them in the comments section, or via the contact form.

What is a “sprue”, and why should I use them with my lasercutting designs?
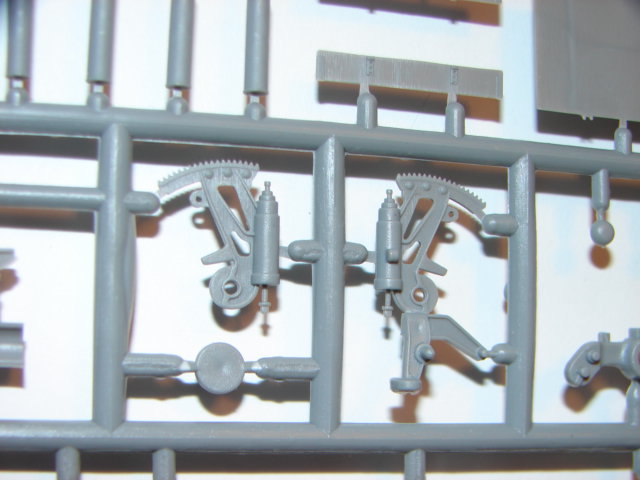
Sprues are most commonly seen in injection-moulded plastic toys. For a fuller description check out the Wikipedia definition, but briefly:
In the image below they are the little links that connect the plastic toy components. They are created as part of the moulding process, but the useful secondary function of sprues is that they hold the components securely in position within a plastic frame, until you twist or cut the components out. So in the image below, you can see that the actual toy pieces are held safely in place until the user needs them, rather than the pieces just rattling around in a box or falling on the floor and getting lost.
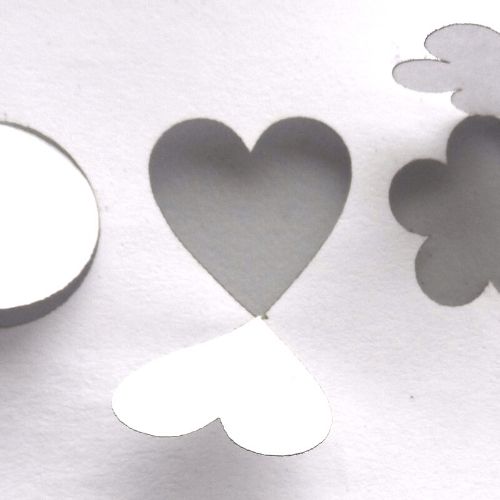
In laser cutting projects, you often need to cut small pieces out of a light material such as paper, card, plastic or wood. But if they are smaller than the holes in the cutting bed of the laser machine, the pieces often fall through the holes and are lost as soon as they have been cut. Similarly if the machine blows or sucks air as part of the cutting process then very small pieces can just fly away.

So we need a way to cut the pieces, but to stop them falling down or blowing away. One solution is to include sprues in the cutting designs. (Generally speaking, they will be useful if the piece to be cut is less than 1cm squared, or if anything is being cut from a piece of paper.)
Sprues can be created very quickly and easily in most vector-based drawing software (e.g. Photoshop or CorelDraw). I happen to use CorelDraw, but the principles are the same for most other apps/programs:
Step 1: Make sure that you can edit curves and manipulate/add nodes on the cutting path of the design. (In CorelDraw it is the “Shape Tool” that allows you to do this.)

Note: If you can’t see any nodes to edit, you may need to convert the shape to curves first (e.g. by right-clicking the mouse and selecting “Convert to Curves”):

Step 2: Zoom in really close to the object (e.g. so that a 3mm line fills the whole screen), then add two new nodes as close to an existing node as you can manage:

Step 3: Select the middle node of the three nodes that are very close together, and then break the path of the curve. (e.g. by right-clicking and choosing “Break Apart”):

Step 4: That middle node should have broken in two, so take one of the two resulting nodes and drag it about half a millimetre outside the curve. Then do the same for the other new node. This creates a small break in the cutting line, so that when you the cut piece it should now remain fixed in place until you are ready to push or tear it from the material you were cutting.


Step 5: Push or pull the object out of the sheet of material that it is fixed in.
(You may need a knife or scissors to help cut it free, and then a file or a knife to cut away any extra material that is not required.)

That’s it! I hope you liked this article. If you have any comments or questions, please feel free to share them in the comments section, or via the contact form.