Woo, get me – I’ve been trying out 21st-century technology today, and have discovered how to put a lasercutting video onto TikTok.
I’m not sure it was worth all of the effort, to be honest. I’m hoping that TikTok goes away, and that I never have to interact with it again. Either that, or I’m hoping that as more middle-aged people (like me) start using it, TikTok will realise how much people hate the bossiness of an app that immediately starts playing video and audio content as soon as you open it up. Ugh.
Anyway, in an attempt to train TikTok’s algorithms into at least showing me more relevant looping streams of video, today I’ve been trying to teach it that I like crafts and art – especially laser-cut and polymer clay art.
Below is the actual video I uploaded. My first ever attempt at uploading some content on TikTok. It was such a giant, convoluted hassle that I might never bother again. But just in case I do, I wrote a reminder to myself on my KayVincent.com website, vaguely showing how I managed it.
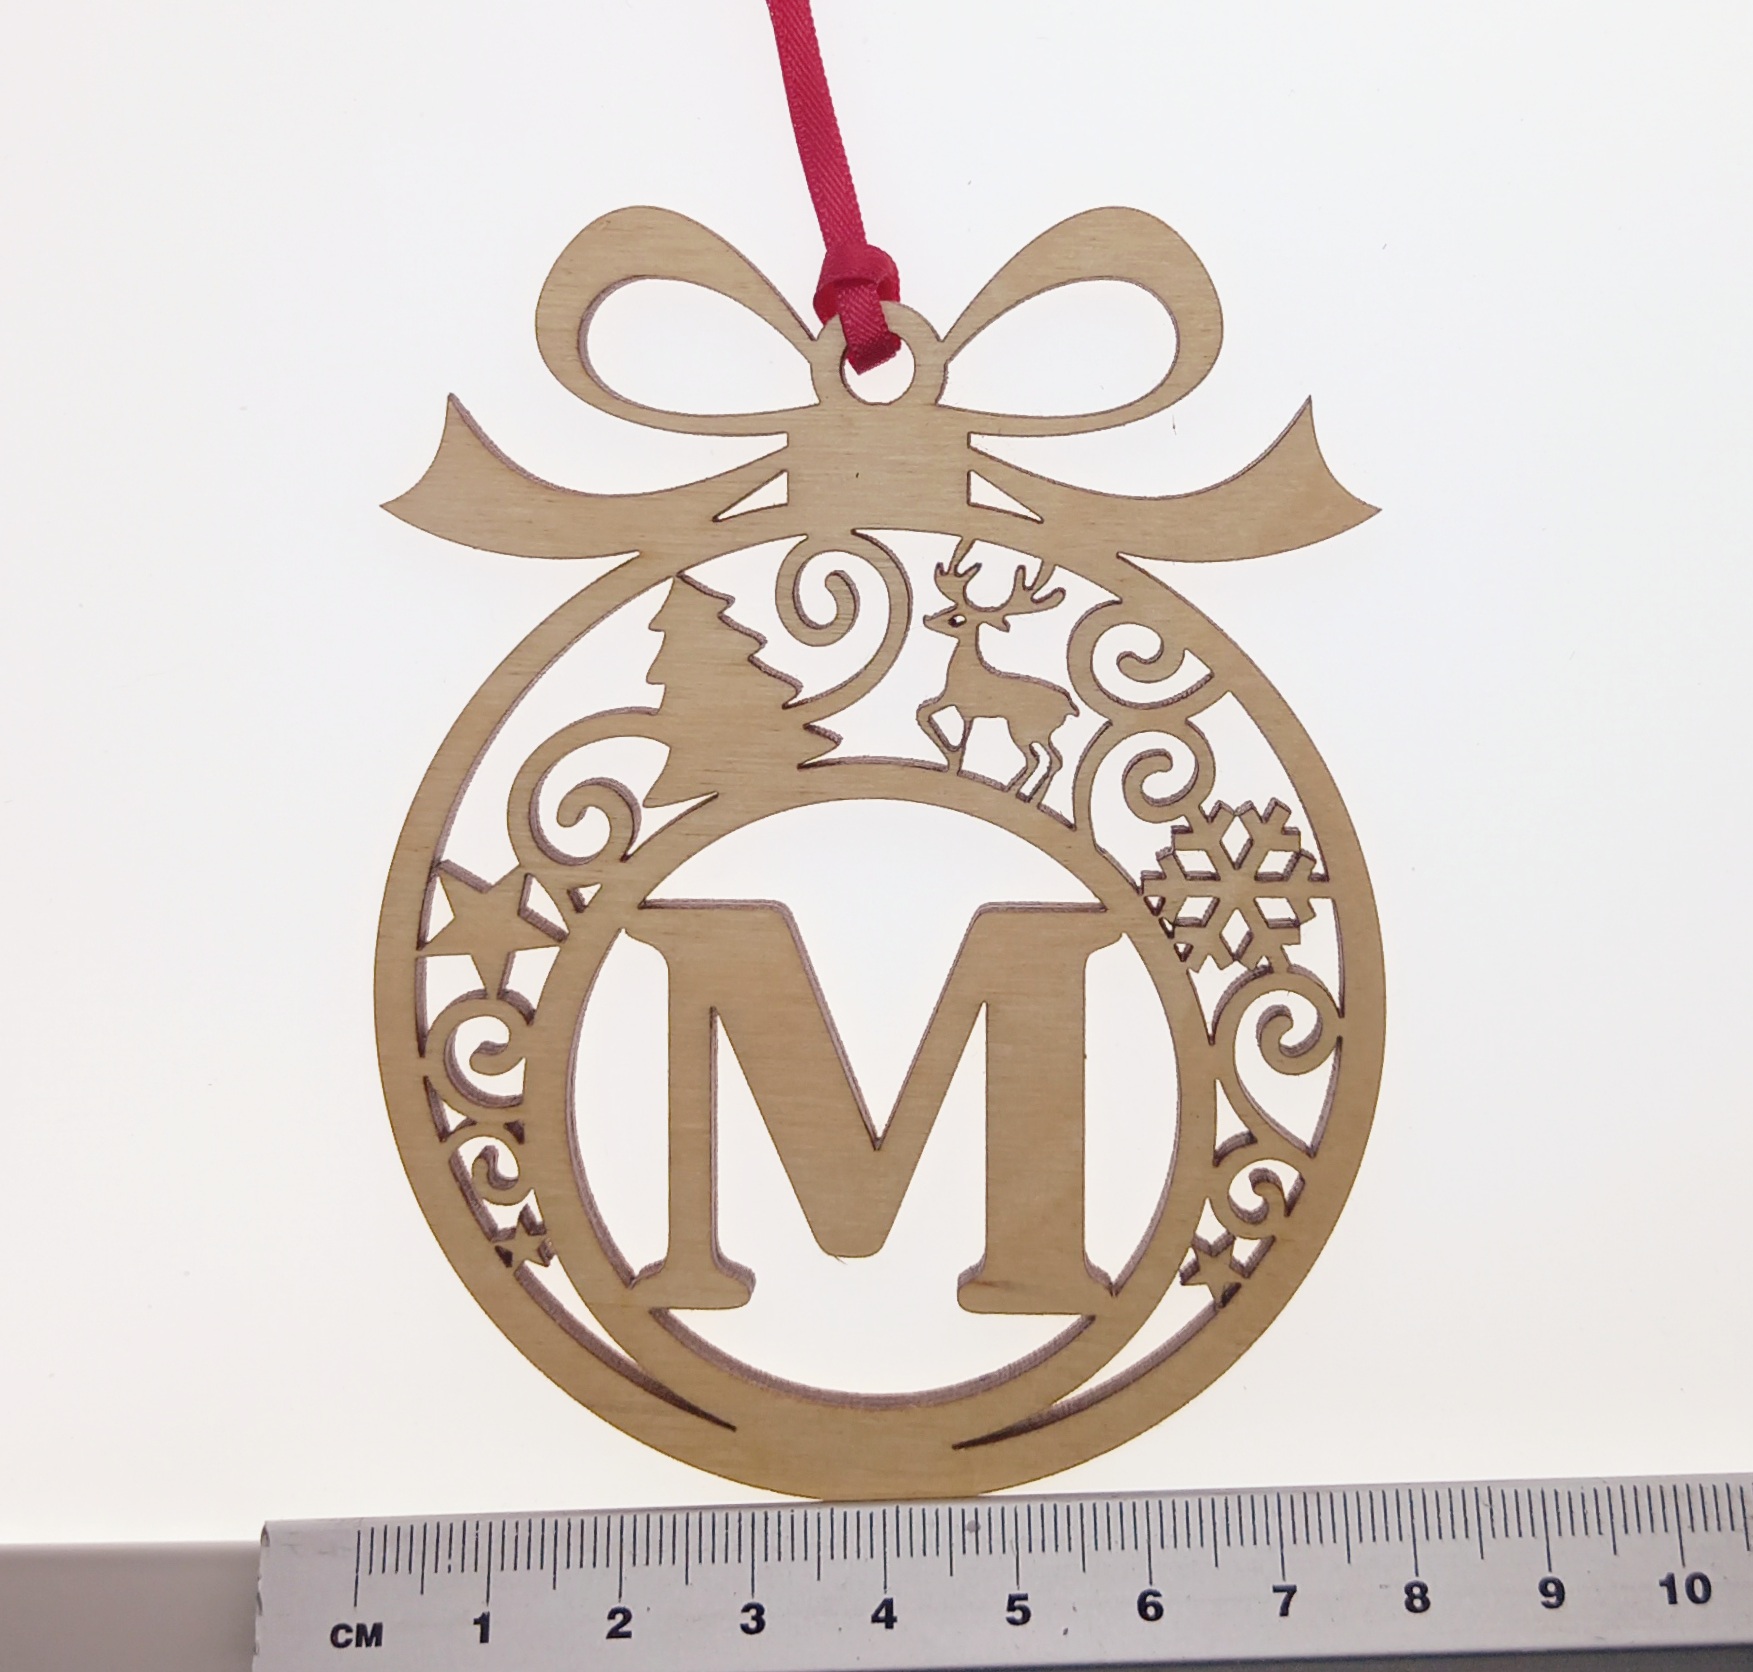
It was a speeded-up video clip showing my laser cutter in action, cutting this ‘M’ Christmas tree bauble decoration:

Maybe I’ll stick to YouTube, Pinterest, and Instagram, and leave TikTok for the kids. Dunno.
Sander sadness…
In the meantime, the reason I’ve been making lasercutting TikTok videos instead of sanding the decorations is that my sander is broken. It’s the second sander this year that has spontaneously conked, so I’m going to hunt down the receipt to see if it’s still under warranty. In the meantime I’ve ordered another sander, but have gone for a more industrial model, rather than the (literal) home or garden version. Hopefully by Friday my little sanding station (in the garage) will be back up and running. Because I definitely don’t want to be hand-sanding hundreds of wooden Christmas decorations.