Posted on Leave a comment

922 Decorative Vector Ornaments: Papercut 081

Decorative Vector Ornaments: Papercut 081

This is papercut 81 of my papercutting adventure (using the “922 Decorative Vector Ornaments” book, in preparation for incorporating them in future papercuts that are made by laser and also by hand.)

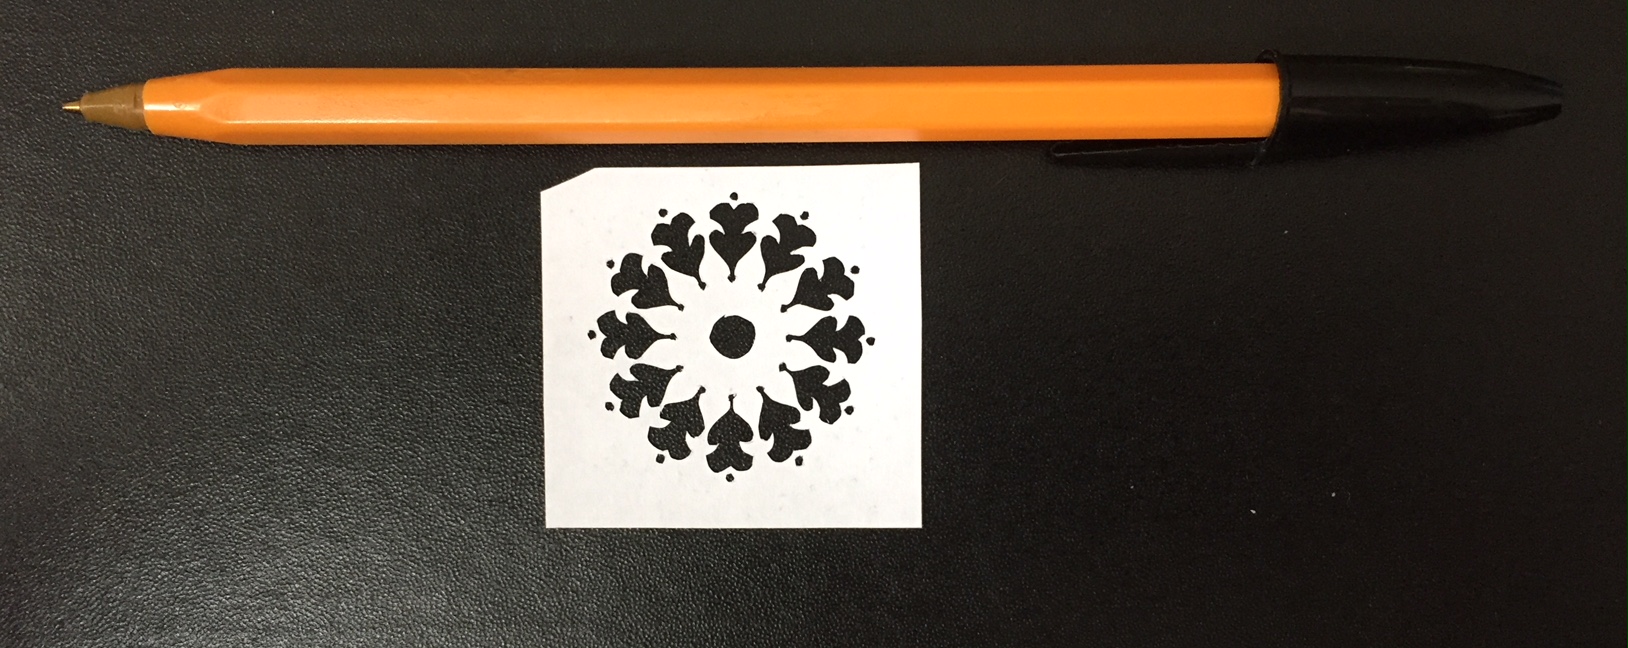
I thought this design was going to be a pain in the butt to cut, but it turned out to be quite enjoyable and therapeutic because of the repetition and the challenging aspects to it:

papercut 81 with pen for scale - Kay Vincent - LaserSister

First of all I cut the teeny tiny little dots out. They are approximately 1mm across, so it’s a miracle really that any of them look even vaguely round. Especially since the blade was getting quite blunt by then, so I was having to hack them out of the paper instead of cleanly slice them.

Then I did the sort of stacked-hearts shapes, by cutting the left-hand curves first then rotating the paper so I could move onto the next shape, etc.

And finally I did what should have been the easiest bit, which was the hole in the middle. Which is the bit that turned out looking the most wonky! Never mind – I can always tidy it up later, I suppose:

papercut 81 - Kay Vincent - LaserSister

Posted on Leave a comment

922 Decorative Vector Ornaments: Papercut 078

papercut-78-with-pen-for-scale-kay-vincent-lasersister

Decorative Vector Ornaments: Paper cut 078

Day 78 of my papercutting adventure (using the “922 Decorative Vector Ornaments” book, in preparation for incorporating them in future papercuts that are made by laser and also by hand.)

Weirdly, I think I might be reaching a stage where I’ve come to a bit of a compromise with the perfectionist in me. The image below looks OK to me…

papercut 78 with pen for scale - Kay Vincent - LaserSister

…but then close-up I can see all of the flaws in the cuts (that I couldn’t even see with my magnifying glasses when I was actually working on it!) But the perfectionist in me is now getting a tiny bit less uptight, so although the annoying imperfections do still leap out at me straight away, there is also a little part of me that goes “Hey! Nice leaves at the bottom!”, instead of “Oh no – the entire thing is a total mess.”

papercut 78 - Kay Vincent - LaserSister

Posted on Leave a comment

922 Decorative Vector Ornaments: Papercut 077

birthday cake papercut 077 with pen for scale - Kay Vincent - LaserSister

Decorative Vector Ornaments: Paper cut 077

Day 77 of my papercutting adventure (using the “922 Decorative Vector Ornaments” book, in preparation for incorporating them in future papercuts that are made by laser and also by hand.)

Ha – I should have cut this one out last week for my birthday!

birthday cake papercut 077 with pen for scale - Kay Vincent - LaserSister

birthday cake papercut 077 - Kay Vincent - LaserSister


Posted on Leave a comment

922 Decorative Vector Ornaments: Papercut 075

papercut 075 with pen for scale - Kay Vincent - LaserSister

Decorative Vector Ornaments: Paper cut 075

Day 75 – I’m three quarters of the way through my papercutting adventure! (using the “922 Decorative Vector Ornaments” book, in preparation for incorporating them in future papercuts that are made by laser and also by hand.)


papercut 075 with pen for scale - Kay Vincent - LaserSister

Not many mistakes on this one, and I like the swirly Art Nouveau-type design:papercut 075 - Kay Vincent - LaserSister


Posted on Leave a comment

Laser-cut Personalised Jewellery Holders

lasercut jewellery holder - Kay Vincent LaserSister

Laser-Cut Jewellery Holder

Here is something I’ve been playing with this week – the design of a laser-cut jewellery holder.

I made one for my mum last Christmas…

As you can see, it can hold lots of different types of jewellery (rings, necklaces, bracelets, watches, earrings). However, it still needs some tweaks.

What I like about it is:

  • As mentioned above, it can hold nearly all types of jewellery. The only exceptions I can think of at the moment are hat pins, scarf pins or brooches.
  • You can see all of the jewellery in one place. It’s not in a drawer or box, so you get to enjoy your favourite pieces like mini artworks.
  • It’s personalised and therefore unique.
  • It’s versatile, so (e.g.) the same horizontal bar can take either hook-type earrings or post-type earrings, and the vertical side bits can hold either rings or bracelets or watches.

Things to improve on the design:

  • Create a way to hang it so that it is held away from the wall, to make it easier to hang earrings.
  • Have a way to store brooches and pin-type jewellery (e.g. a tray at the bottom)

As a very basic version though, this is the design that I used:

If you’ve got a laser cutter and you’d like to have a play with this design yourself, I’ve made a vector file available below.

Basic jewellery holder design for lasercutting - copyright Kay Vincent - LaserSister 2018

(Click here for basic jewellery holder design for lasercutting)

Hope you found this post useful! If you think it might be of use to other makers/designers, please feel free to share the link to the post via Twitter (@LaserSister), Pinterest, Facebook (@LaserSister), etc…